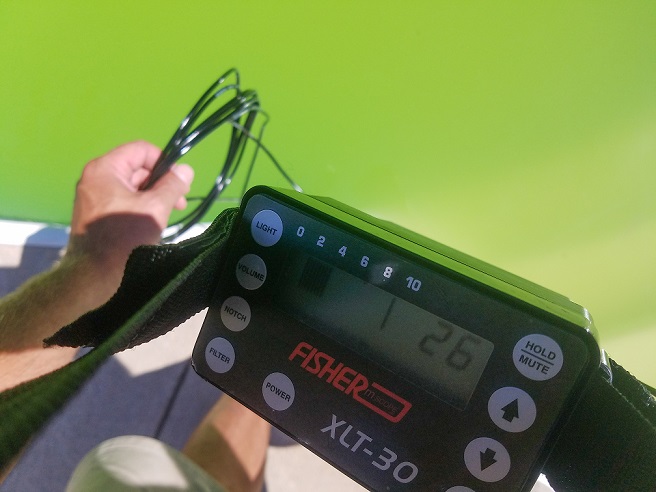
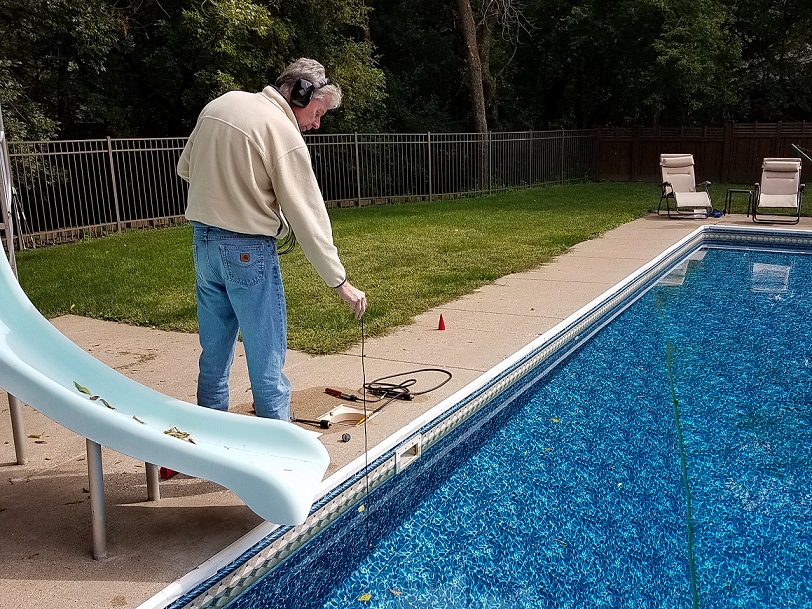
Tracer gas detection is an alternate method for pinpointing pipe leaks when sonic detection isn’t possible or when a secondary method to confirm location is required. The process starts by sealing off a suspect pipe with pressure testing plugs and inducing a tracer gas into the pipe. This forces the tracer gas to escape out of the pipe leak. The tracer gas then rises to the surface and a gas detector is used to pick up the location of the tracer gas coming out of the ground. The Loktracer TLD500 Hydrogen Detector is used with a non-flammable mixture of 5% Hydrogen/95% Nitrogen as a tracer gas. The gas detector sounds an alarm and illuminates a series of LEDs when a trace amount of hydrogen gas is detected.
Will the gas detector work through concrete?
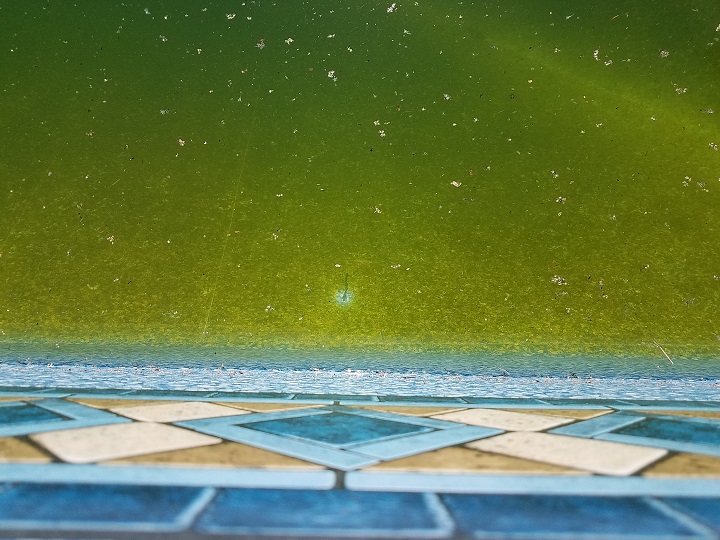
Yes and no. While the tracer gas eventually works its way through concrete, it will always take the path of least resistance. This means it may come up through a crack or the edge of a slab even though that may not be the exact leak location. Small holes can be drilled in concrete to help the gas move through the concrete faster and provide a more specific location. In the dirt, the gas generally comes straight up from the leak.
How long does it take for the hydrogen to reach the surface?
That length of time depends on the depth of the pipe and the density of the material. If the line is 2 feet below ground, the time to detect could be a few minutes. The deeper the pipe, the longer you might want to run the tracer gas before you start detecting above the ground.
Is hydrogen tracer gas dangerous or flammable?
No, if the mixture is 5% hydrogen in nitrogen (must be nitrogen), it is shown on the cylinder as green label non-combustible. This is the only mixture permissible to be used with the Loktracer TLD500 gas detector. Additionally, the mixture will never build up to become explosive. Once the hydrogen leaves the cylinder, the concentration can only go down. The hydrogen does not separate from the nitrogen gas.
How much tracer gas do I need to find the leak?
The amount of tracer gas needed depends a lot on the volume of the pipe and the duration of the location process. A residential pool pipe that needs to be tested could take around 1 – 3 cubic feet to fill. Once filled, a continuous flow of gas is then dispensed until you stop the location process. A typical gas cylinder contains about 250 cubic ft of gas. Several, if not many, jobs can be completed on the same tank. We recommend having more gas than you think you will use, because as the gas leaks out of the plumbing you will continually need to adjust the flow to maintain pressure. If the line volume is large and deep underground, running the gas for long periods of time could deplete your supply quickly.
How much does the gas cost and where do I get it?
The cost is generally about $60-70 a cylinder but will vary depending on supplier. You can obtain the gas through a gas supplier like Prax or AirGas. Welding gas suppliers may also carry it since 5% Hydrogen/95% Nitrogen gas is used in welding as shield gas. Always ask for industrial grade or the cheapest gas they offer. Gas purity is not important. You do not need 5 9’s research grade with a certificate. The basic gas will suffice.
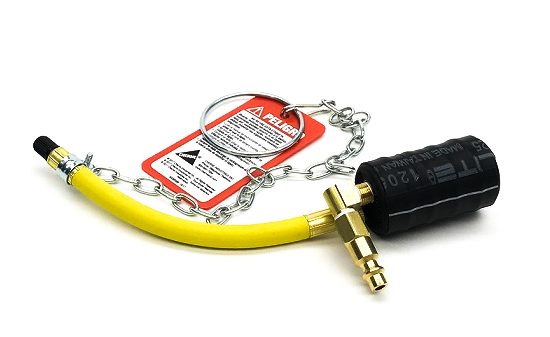
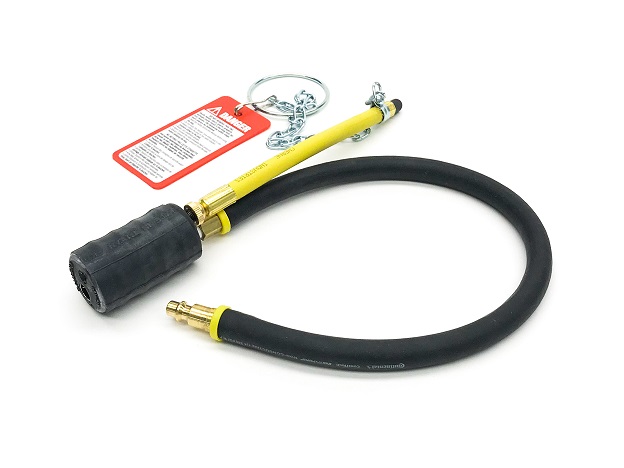
Should I use a gas pressure regulator or a flow regulator to dispense the gas?
Either one will work. You don’t need to maintain a specific pressure, but you do want to ensure there is a constant flow of gas. With a flow meter you can measure/see how much gas is flowing into the pipe, which can be helpful to conserve gas on larger leaks. If the leak is small enough to build pressure, it’s important to avoid building too much pressure in the line. A pressure regulator will allow gas to go into the line up to a certain pressure, which can save gas on smaller leaks and will keep pressure levels safe. The downside to a pressure regulator is that more gas may be put into the line than is necessary to build up pressure.
What are the consumable parts of the gas detector? How long before it needs service?
The Loktracer TLD500 gas sensor is an impact sensor. The hydrogen molecule impacts on the sensor, so there is nothing that is “sucking” in the sample as in other helium or refrigerant type gas detectors. This sensor on the Loktracer TLD500 usually lasts 2-5 years or longer. At that point, it is more cost effective to replace the entire unit.
Do I have to remove the water from the pipe before putting in the hydrogen tracer gas?
It is best to remove the water from the pipe. The tracer gas needs to be able to reach the leak, and since the leak location is unknown, the water left in the pipe could be escaping from the leak and not the tracer gas. While eventually the water gets pushed out and the tracer gas can escape out of the leak, that process can take a long time, especially on small leaks. To be efficient you will want to purge the water from the pipe first.
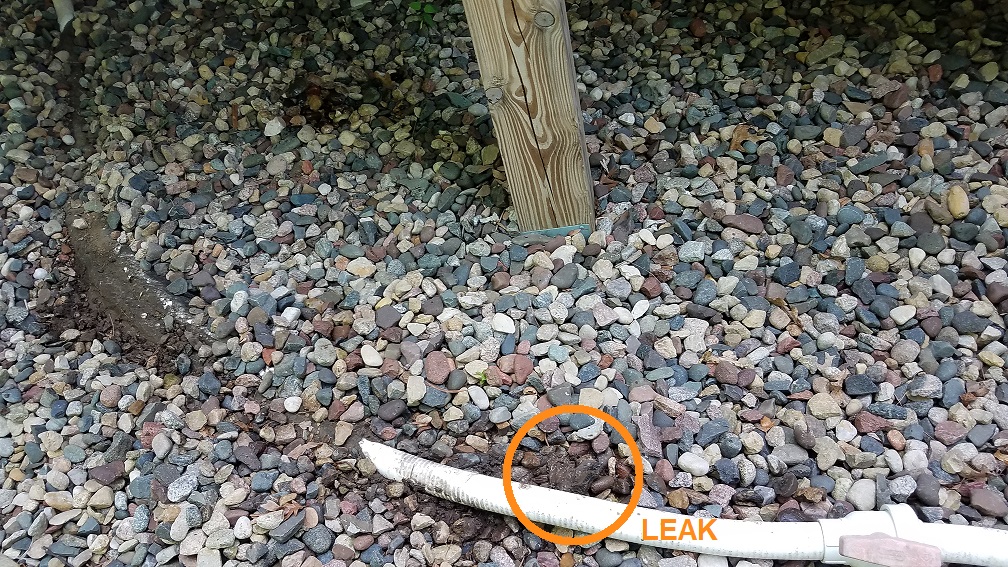
How close can you locate the leak location at the ground level?
If the gas is unimpeded as it rises to the surface, you can assume that the leak is within a 3’ radius of where the strongest gas signal is indicated. Hydrogen is a high energy gas with a small molecule, so it moves through porous materials very easily and quickly. While this means that it is well suited to move straight up from the leak, it will still always move through cracks and around edges fastest. Drilling holes in concrete can help identify a tighter location.
How does this technology compare to helium as a tracer gas?
The 5% Hydrogen/95% Nitrogen mixture is about 25% the cost of helium. Helium is a mined gas while hydrogen and nitrogen can be created. Helium is also in high demand for research and medical applications, which increases its cost and decreases availability. The Loktracer TLD500 sensor is as sensitive as helium sensors, so there is no reduction in accuracy. Additionally, the cost of the Loktracer TLD500 is about one-third the cost of comparable helium systems. The bottom line – using hydrogen tracer gas gets you the same (or improved) accuracy at a lower cost.
I have used helium leak detectors in the past. Does my procedure change in moving from a helium based tracer gas to a hydrogen tracer gas?
The process of using a helium sniffer gas detector and our hydrogen mixture gas detector is essentially the same. The 5% Hydrogen/95% Nitrogen gas is a higher energy gas, thus it moves through the dirt, asphalt and concrete much quicker and easier than helium. So, considering all factors hydrogen tracer gas leak detection is better and much less costly than helium tracer gas leak detection.
How sensitive is the Loktracer TLD500?
We have measured the sensitivity of the Loktracer TLD500 at about 25 ppm or less if the sensor is right at the leak source. Of course, in a pipe, the leak could be further underground. In general, the sensor is much more sensitive than needed.
How does the Loktracer TLD500 compare to other more expensive hydrogen leak detection systems?
The Loktracer TLD500 provides detection accuracy equal to other hydrogen leak detectors at a fraction of the cost. The features of the this device are exactly what is needed to find both small and large leaks. The additional features or sensitivity found in more expensive models are not needed in swimming pool pipe leak locating applications.
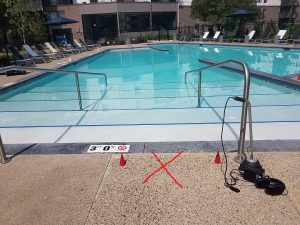
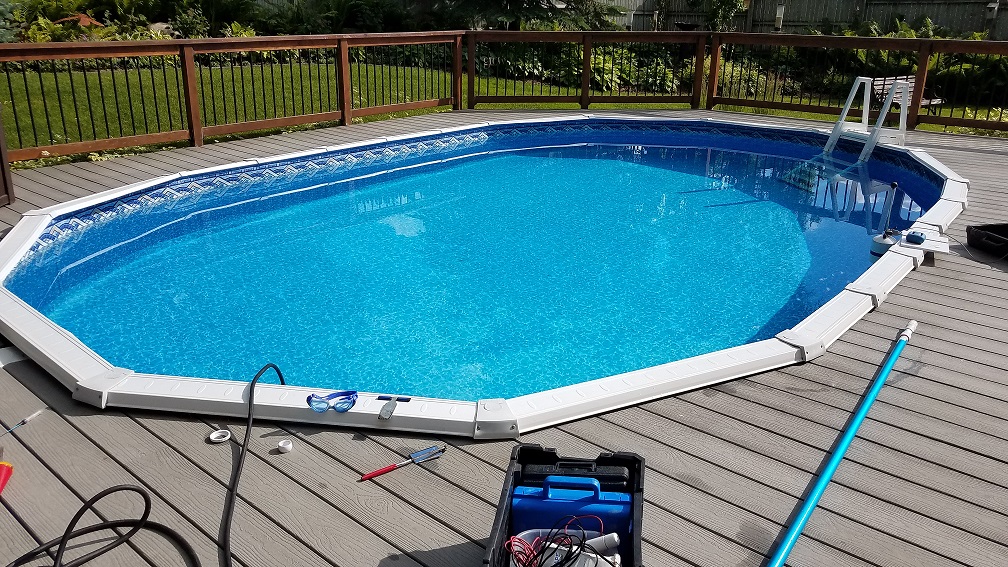
How does the Tracer Gas method compare to the Sonic method for swimming pool pipe leak location?
Sonic Leak Location is generally the go-to method for swimming pool pipe leak location. While sonic location is often the fastest and most accurate option, there are times when the circumstances of the pool can make it challenging. The tracer gas method can be particularly helpful when the soil is especially dry or gravely – conditions which make sonic detection challenging. It is also well suited for elevated pools and many commercial applications. Plus, it can be helpful to use tracer gas detection as a backup method to sonic leak detection to double check your results. Having the ability to use different methods will improve your accuracy and efficiency in leak detection.